V2.4 Assembly Tips
The kit's packaging is designed by the assembly sequence. We strongly recommend not taking parts and pieces out of each layer. You can take every layer out but keep them as layers with parts intact.
These Assembly Tips are specific to the V2.4. You will also need to refer to the General Assembly Tips that are common to the V2.4 and the Trident. The Trident-specific assembly tips are here.
Build Video
Westy made a great video on an entire V2.4 build. Check it out on YouTube! (opens in a new tab)
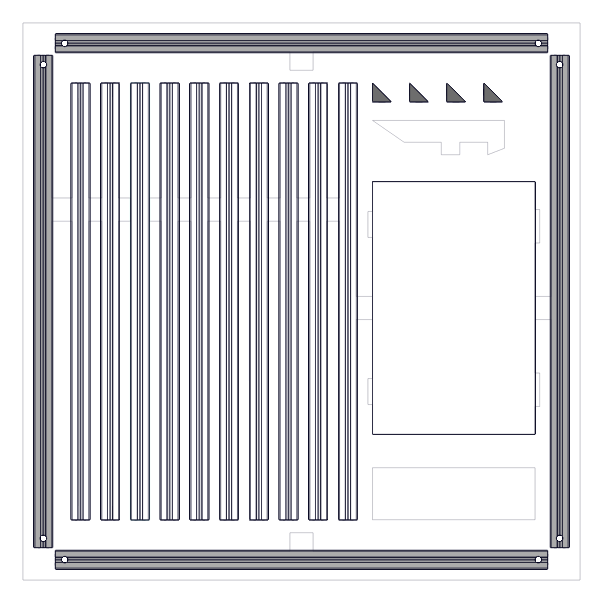
Layer #1
- Square frame extrusions
- Black OpenBuilds 2020 90° corner
- VORON V2.4 fasteners kit
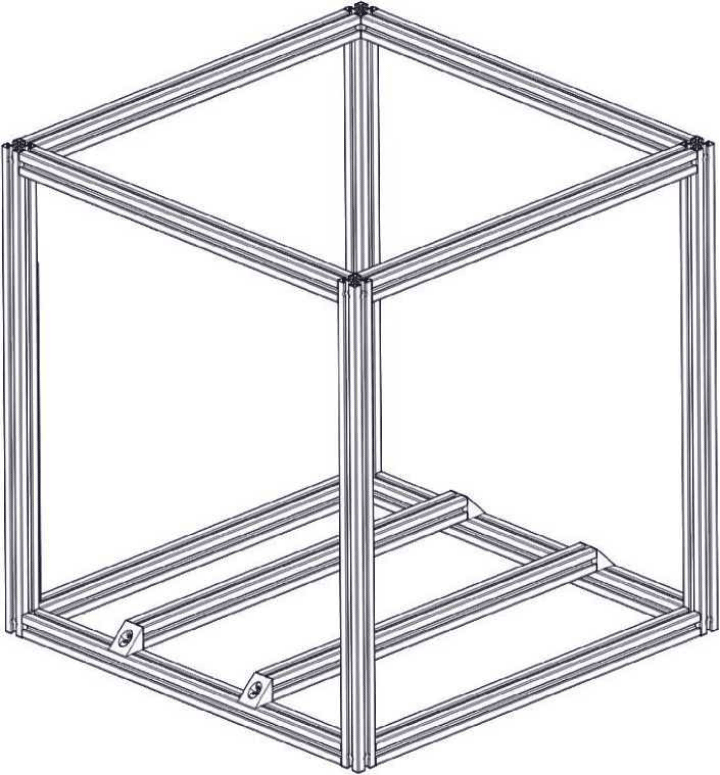
Build Done
With the #1 layer parts, you should get this :
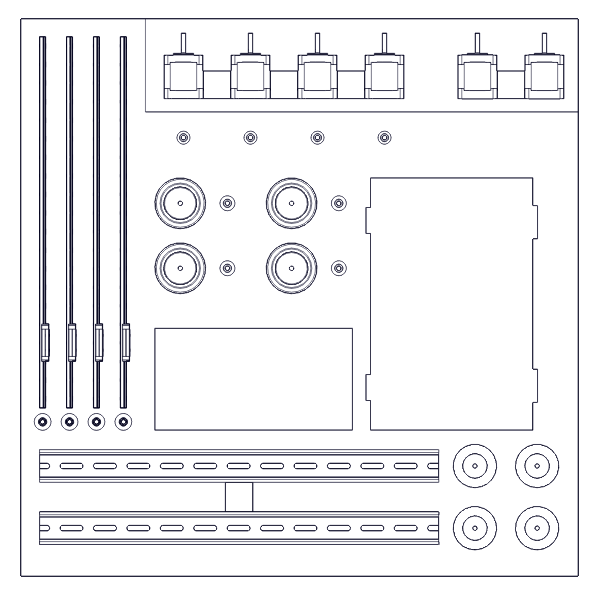
Layer #2 & #3
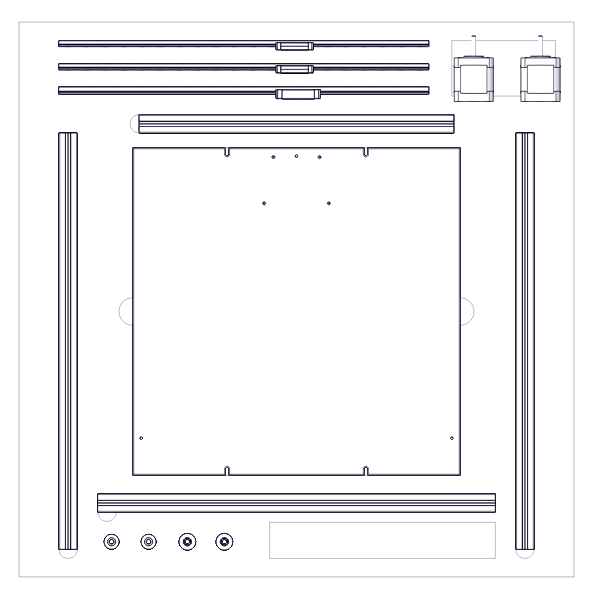
With these 2 layers, you are able to install Z Drive/Z rails and deck panel.
After this there would be XY steppers left, keep them for the next layer.
You may need M5 shims for mounting DIN rails, add 5x10x1 spacer to 4x M5x10 BHCS.
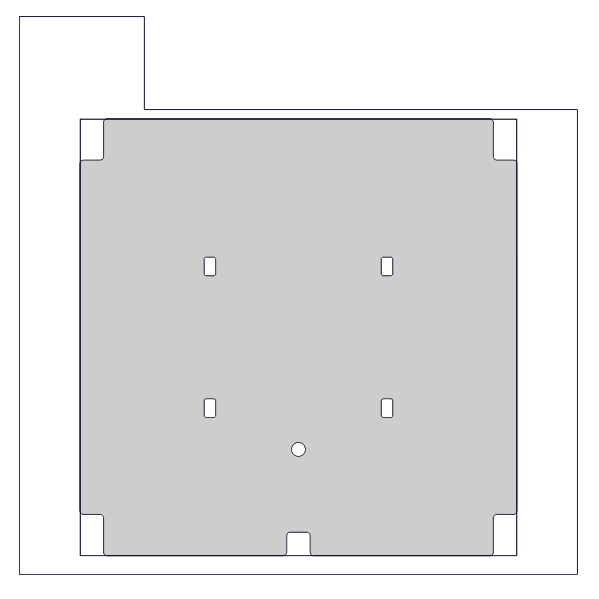
Build done
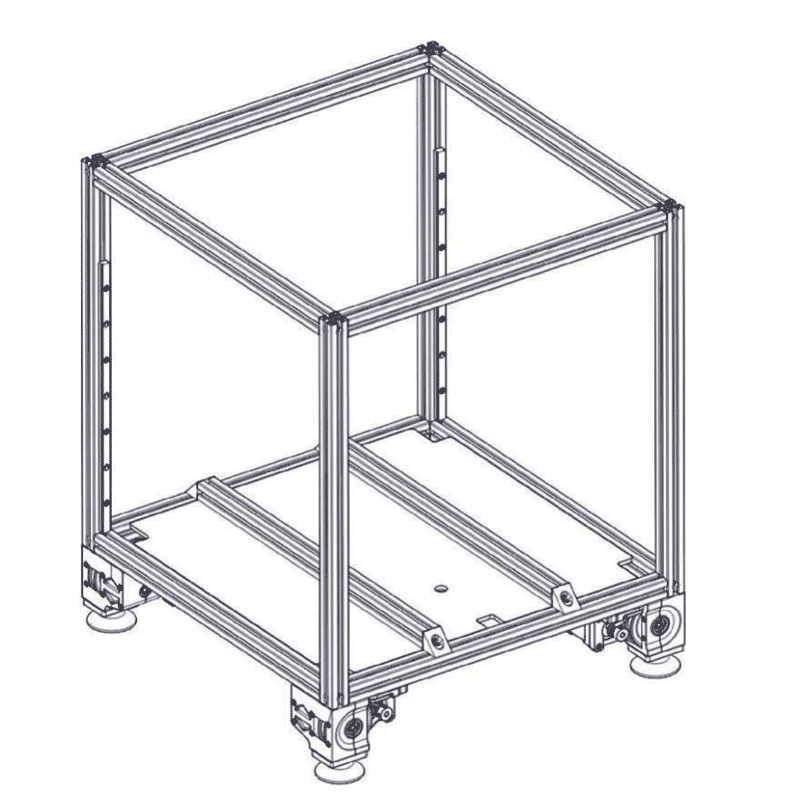
Layer #4
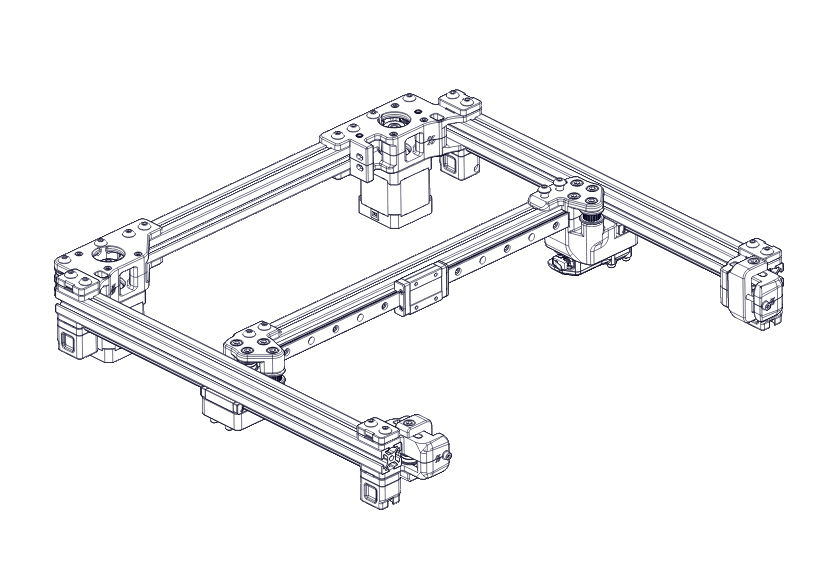
- XY gantry extrusions and rails
- gantry pulleys/idlers/bearings
- buildplate/PEI/heater
Build done
Tips
You may need to remove one or more sections of cable chains according to your build size.
Layer #5
This layer includes other all parts, including wires, electronic parts and toolhead parts etc.
After this layer you should be able to print parts.
Layer #6
Panels. All clear panels and bottom/back black panel.
Back Panel
Follow our print guide.
You need to apply 3mm thick foam tape on the edge of Exhaust_cover.stl and you need to install 2xM3 inserts on this part.
Once again, remember to refer to the General Assembly Tips for those parts of the build common between the V2.4 and the Trident (Stealthburner, Tap, etc)