Umbilical Guide
Summary
This is divided into two parts: the Y endstop on the A driver and the EBB SB on the toolhead.
Our kit comes with a 1mm stainless steel wire that can prevent the umbilical cord from sagging.
There is also an additional cable sleeve that you can use if you like.
For umbilical we use the cable provided by EBB SB, you need to cut it to a proper length when you complete it.
Steel wire length
We recommend to mount it at the Y endstop first, then leave a proper length to the toolhead and cut it.
The max length is when the toolhead is at front left.
Step by Step
Before you start, you need to cut the JST connector off of EBB SB2209 cable, as it's too big to go through M12 Cable Gland, with the Canbridge cable in our kit, you don't need to re-crimp it.
-
Plugin the cable connector to toolhead side, and install the steel wire to CW2 Cable Bridge (if you don't know what it is, scroll down, there's a pic)
-
Slide the wire sleeve onto the EBB SB Cable, use a Zip Tie or heat shrink tube to fix it. (optional), just to clean up the appearance.
-
Go through the M12 cable gland, install the steel wire on the Y endstop station, leave a proper length then cut any extra steel wire.
-
Go through Z chain and come in the electronics bay, there would be 4 wires:
Red : White UK2.5 terminal (24V+)
Black : Black UK2.5 terminal (24V+)
Yellow : Can_H on Canbridge cable
Green : Can_L on Canbridge cable
Follow this: https://mpx.wiki/cbt-wiring-guide#toolboard-24v-wire (opens in a new tab)
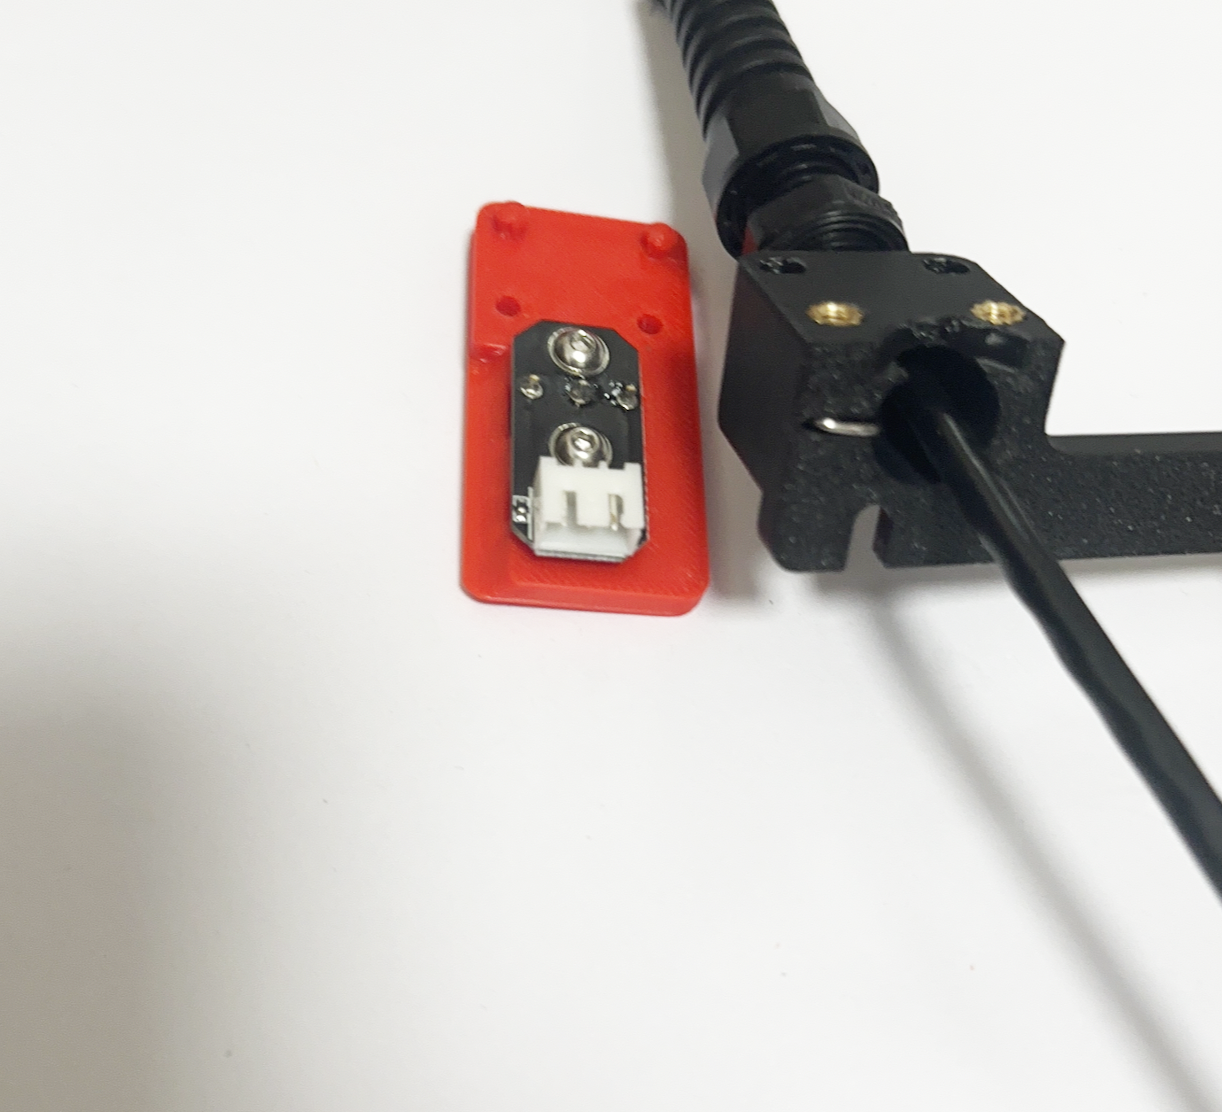
A Driver
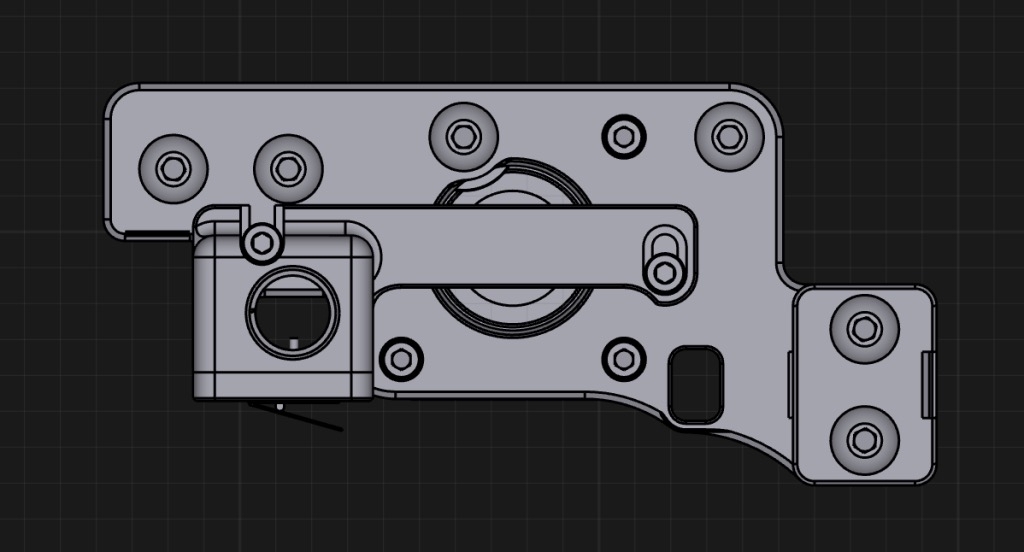
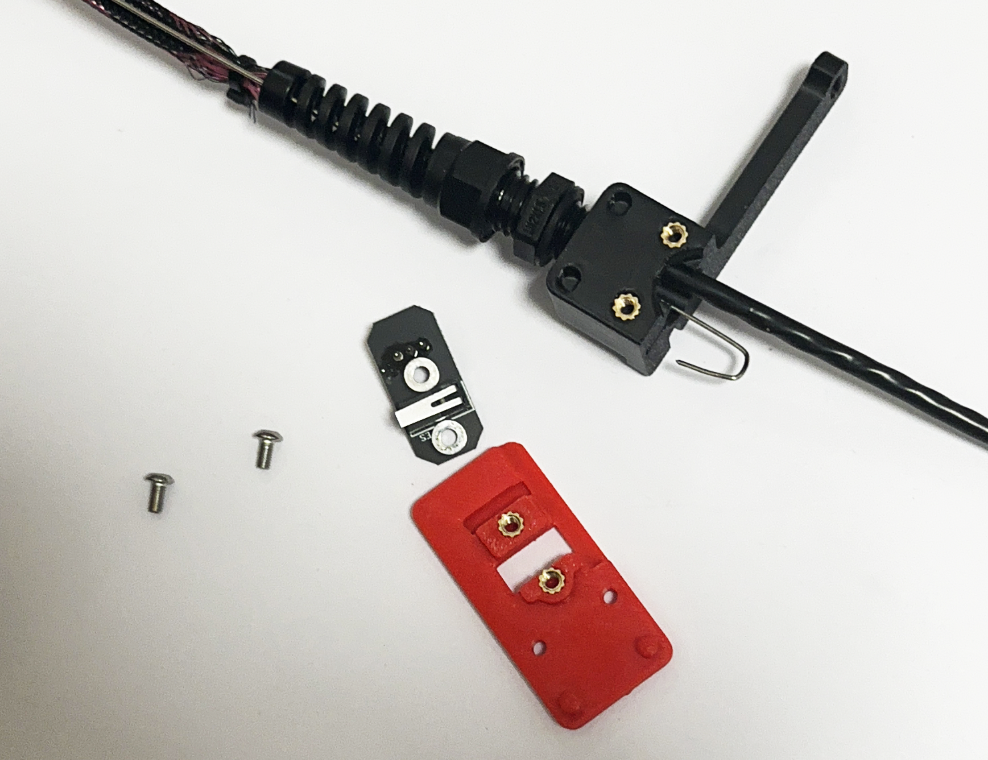
Use M3x6 BHCS to mount the Y endstop PCB.
Then use M3x8 SHCS to install it on the A drive.
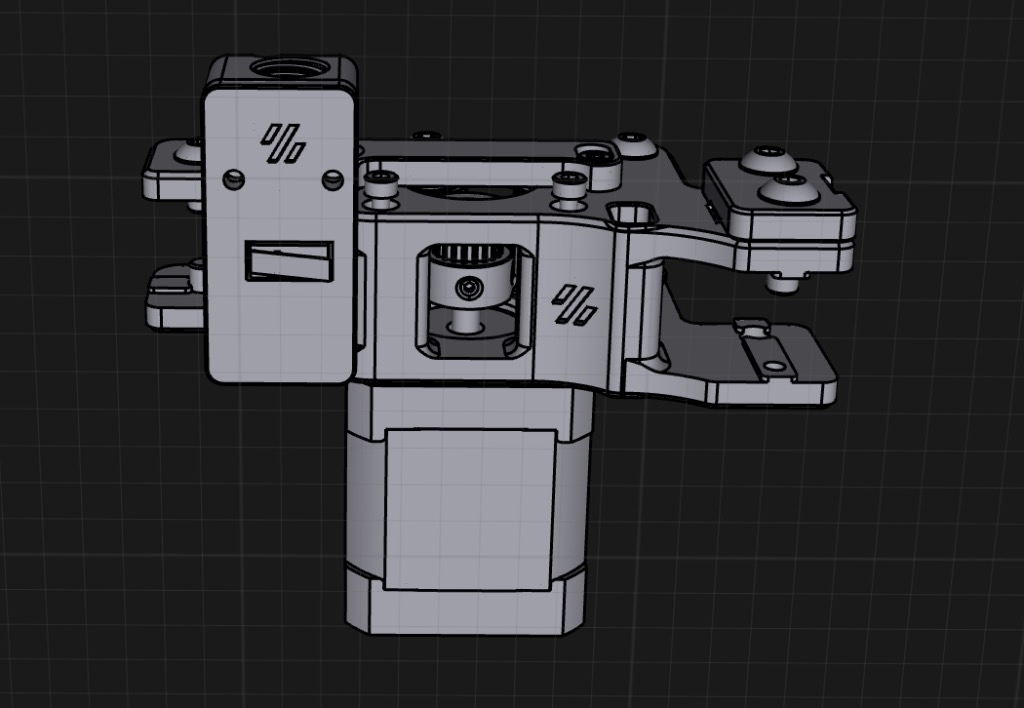
Toolhead
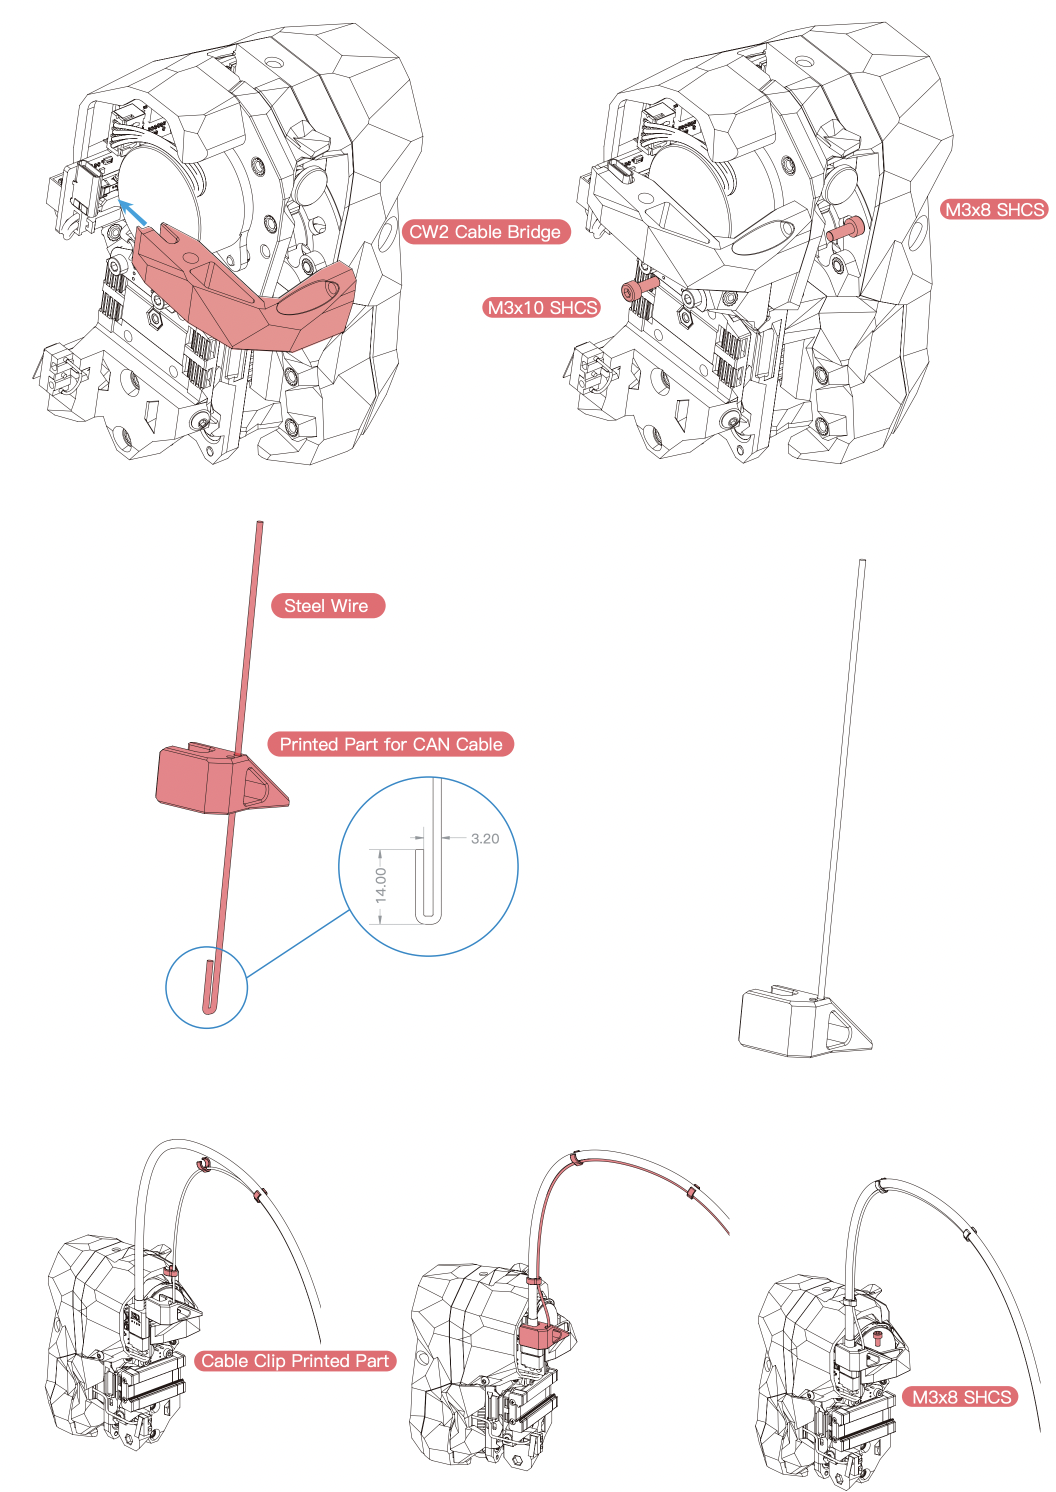
You can use Zip Ties instead of the printed cable clips.
For more detail, you can check the BIGTREETECH EBB SB (opens in a new tab) user guide